
Riso Collage Process, Explained!
In the Riso collage workshop, we create a two-colour collage using paper, scissors, glue, and the Riso. Here’s how it’s done.
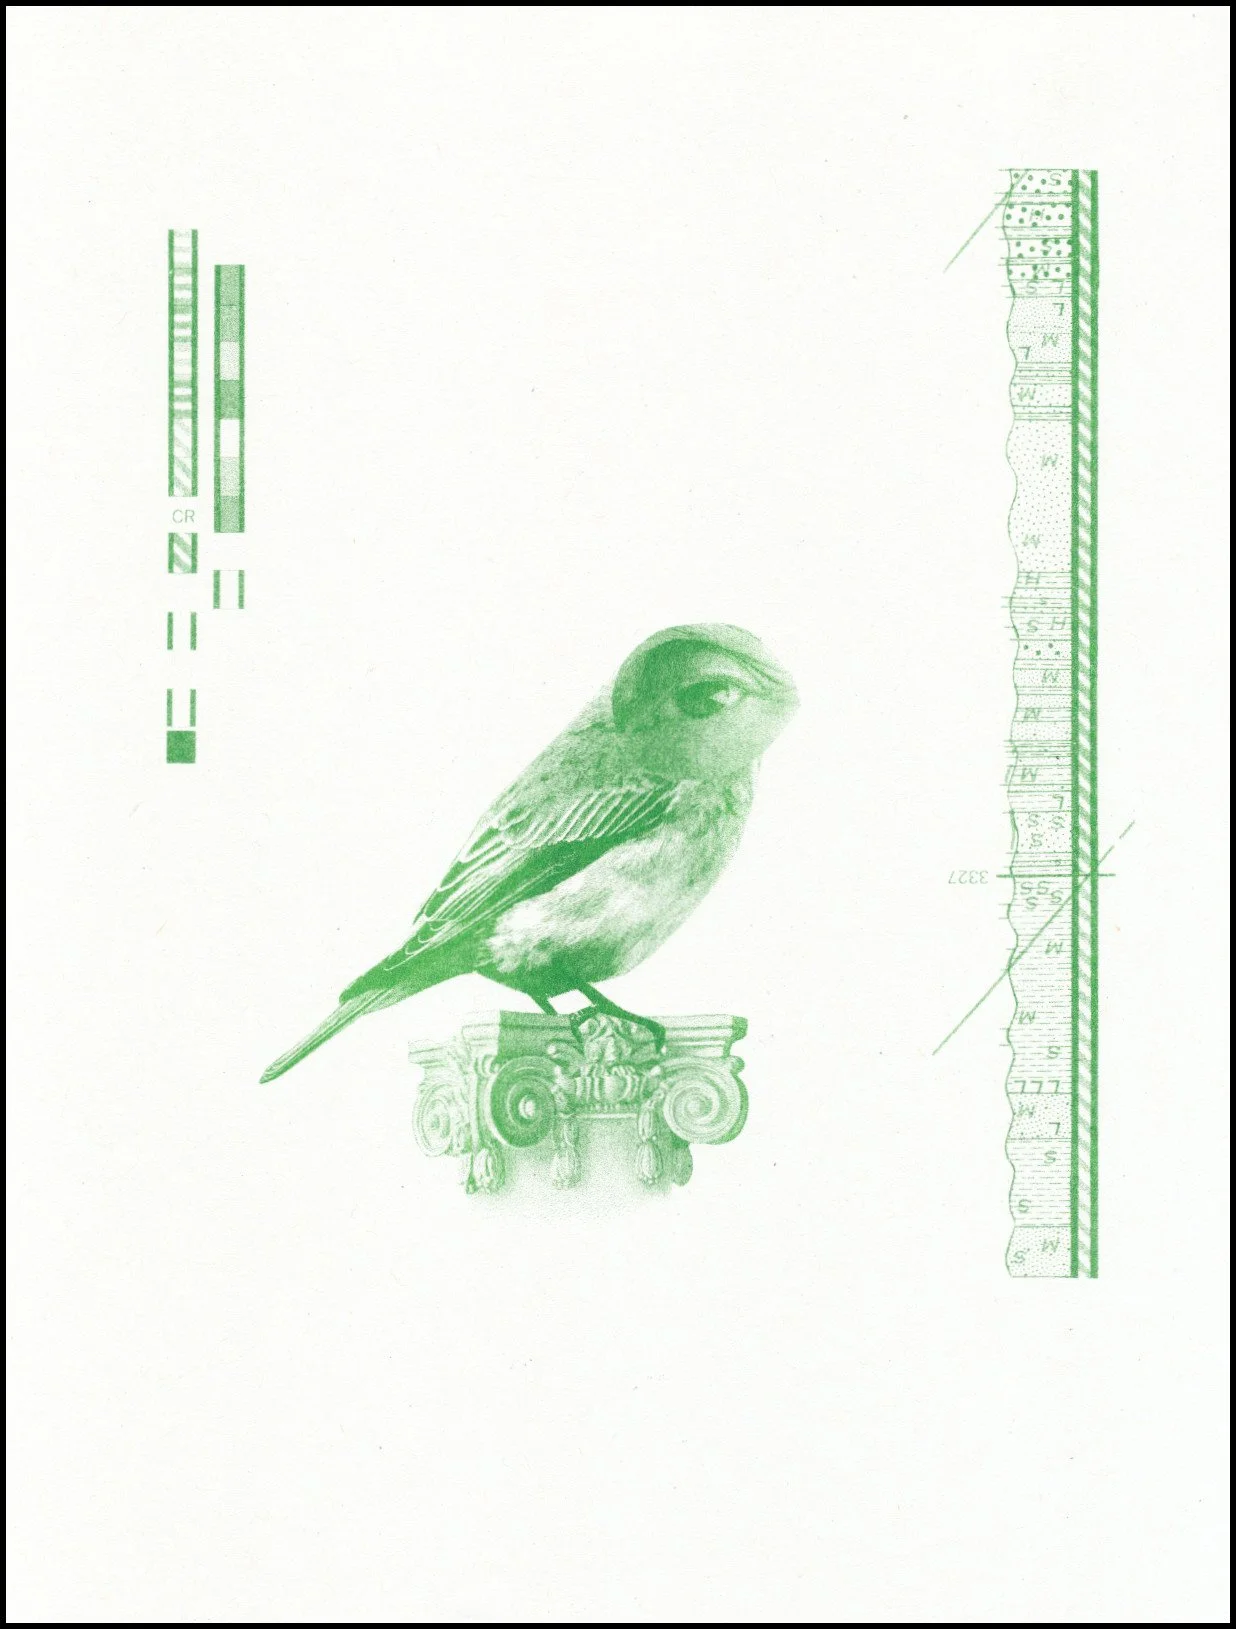
First, we have to think ahead to how Riso printing works. Let’s say I want my collage to be a green bird against a mint seascape. Since the Riso can only print one colour at a time, we need to give the printer two unique images: one is just the bird, and the other is just the seascape. When we print them onto the same page, they become one collage.
So to start, we need to make two collages. At the workshop I’ll provide translucent and transparent papers so that you can build your collages in overlapping layers to see how the elements will interact. This is what my bird and seascape collages looked like:

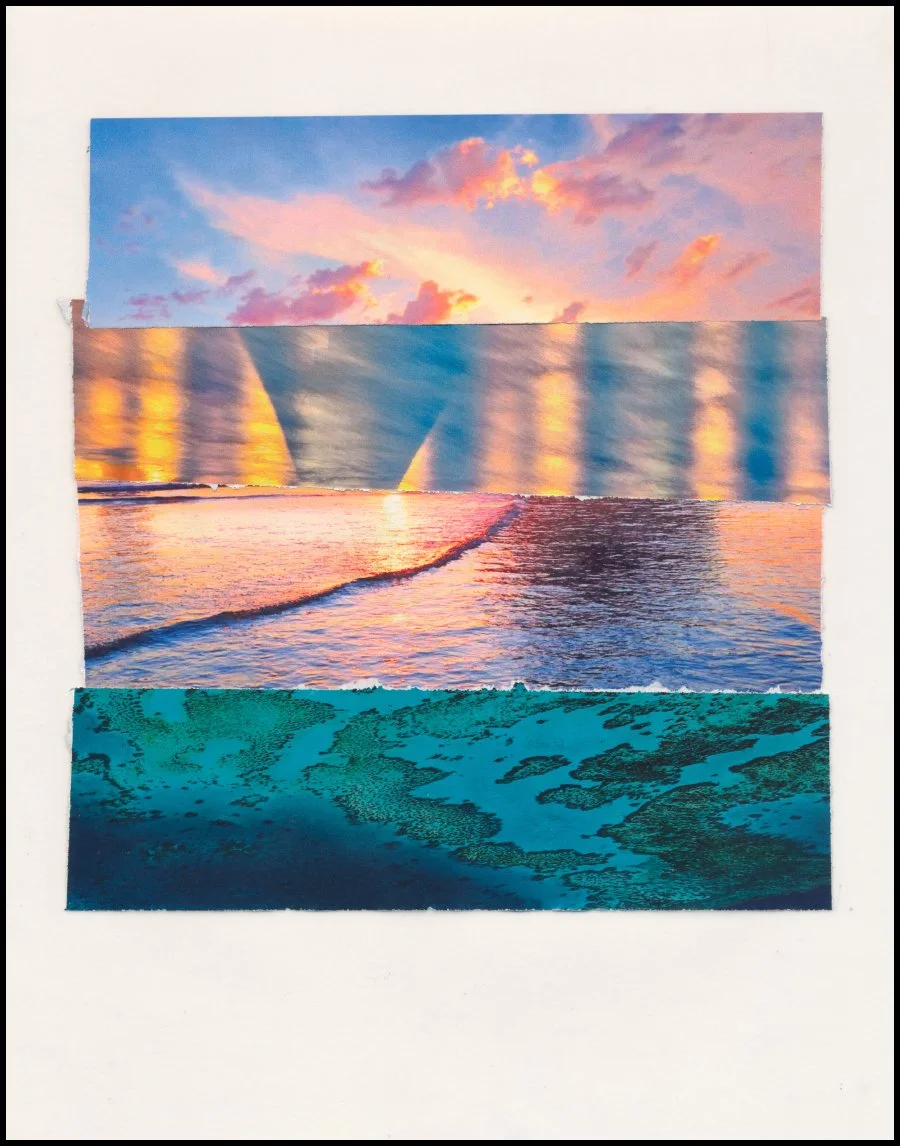
You’ll notice my collages are in full colour, because the paper sources I used for my images were in colour! But in the final print, they’re each going to be flattened into a single tone: green for the bird, and mint for the seascape. So as I was creating these collages, I found it helpful to use my phone camera and filters to show me what the images would look like in black and white:


Once I was happy with my two collages, I scanned them with the Riso and started printing. The two layers looked like this:
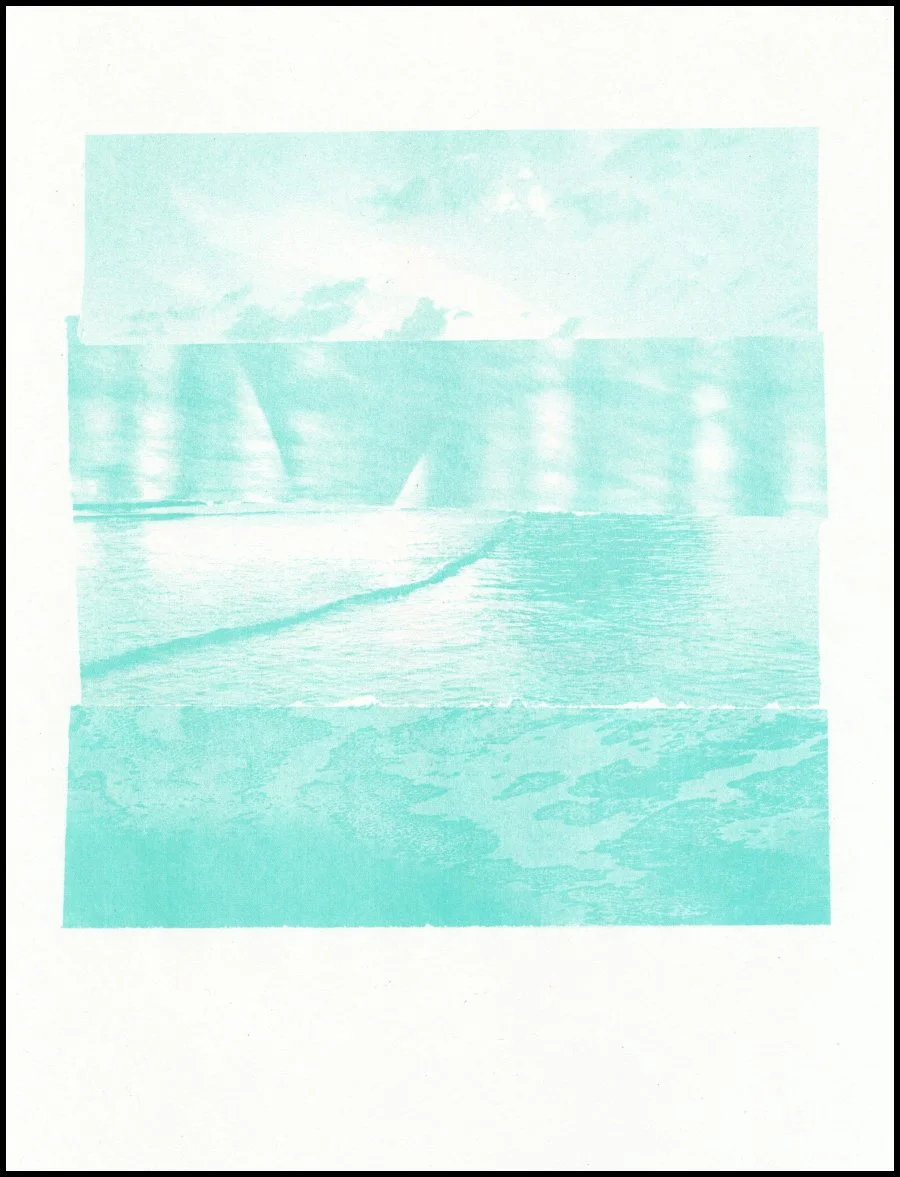
Notice that these layers look pretty different printed than they did in my original collage! The Riso scanner works a bit like a photocopier, so the end result has a lower contrast. When we print with a lighter colour like mint, the image can get a bit washed out as well. It’s all part of the process!
When you’re choosing which colours to use for your collage, you’ll need to think about how the two colours will layer together and interact. I chose a lighter colour (mint) for my background layer and a darker colour (green) for my more detailed foreground.
Depending on how you want your final image to look, you may make different choices! Here is a breakdown of the eight ink colours we have available to use at the studio.
When my green and mint layers were printed onto the same sheet, I had my finished collage:
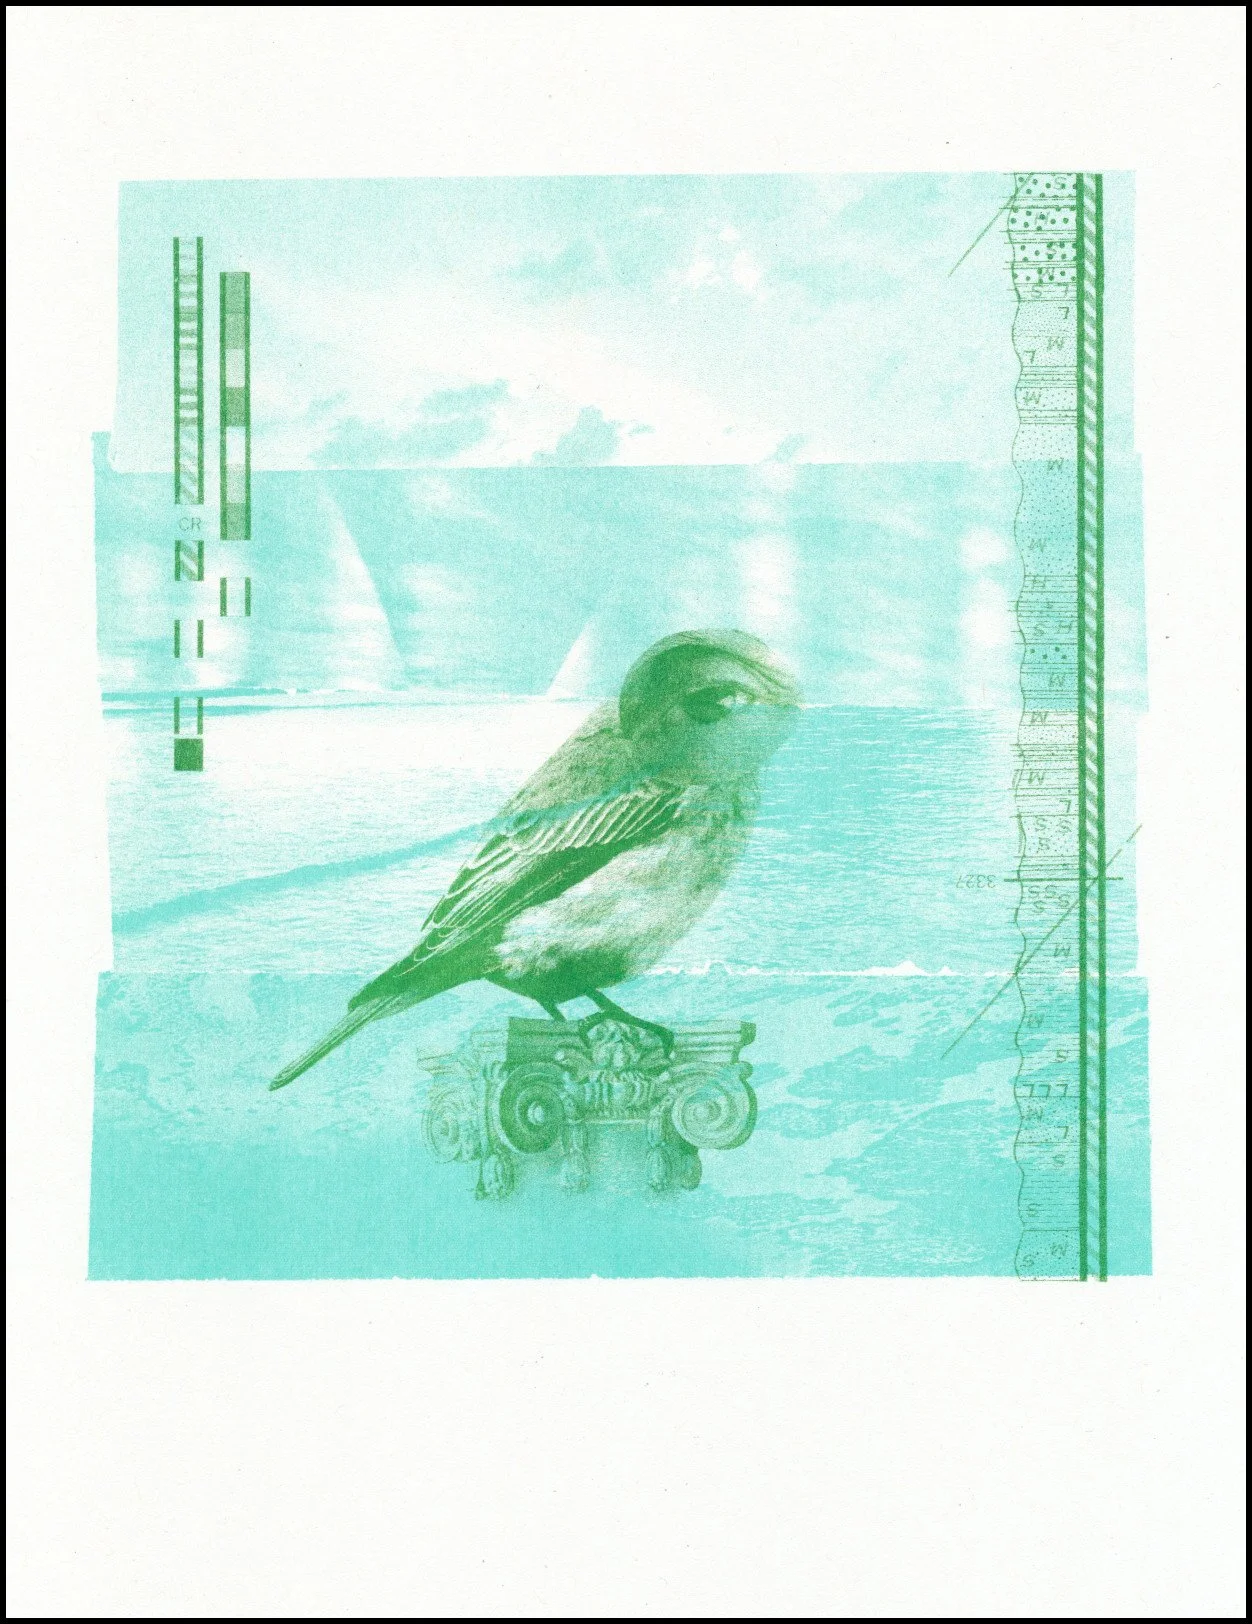
Hopefully this glimpse of the process will help you get thinking about your own two-colour Riso collage. At the workshop you’ll have around 60-90 minutes to make your collage. I’ll provide a wide variety of old books, magazines, and other paper ephemera, as well as some tactile materials like fabric, and basic tools: scissors, knives, cutting mats, glue, translucent and transparent base sheets. You’ll be working on letter-sized paper (8.5” x 11”) and creating a collage in two layers, like the example above. Please feel welcome to bring any of your own collage materials from home!
If you have any questions before our workshop, please send me an email at contact@reasonable.ink.
I’m looking forward to seeing your creations on Sunday!